Import Settings from Ergosoft 15 and 16
Updating from an earlier version of a RIP to a more recent one can seem like a daunting task, but with the following steps you can easily take over your printer configurations and settings from Ergosoft RIP 15 to Ergosoft 17.
It is recommended to do the following steps in order, but you can skip the steps that don’t apply to you. In the below example we will assume version 15 to be the older, existing installation but the process is the same to take over data from 17 to a newer version.
Exporting Print Environments from Ergosoft RIP
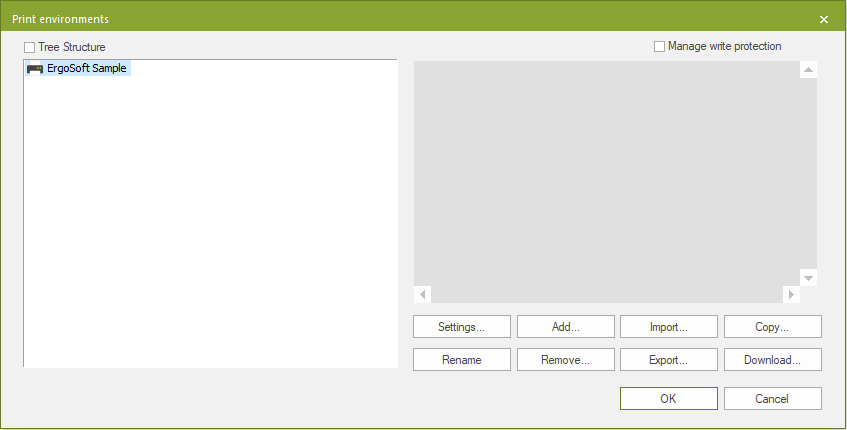
First, open your installation of Ergosoft RIP 15 and open the Print Environments... Dialog (Tools > Print Environments...). Select the Print Environments you want to take over. You can select multiple Print Environments by holding Ctrl or Shift, then click the Export-button.
Select a save path and confirm. If you selected one Print Environment, you’ll get a .PrEnv file. If you selected multiple, you’ll get a .PrEnvPck file, containing all selected Print Environments.
If you also want to take over Cut Environments, repeat this process for the Cut Environments (Tools > Cut Environments...).
Next, install Ergosoft 17 on your system. If you already have it installed, go directly to the next step. If you need help setting up Ergosoft 17, check the article First Time Setup.
Leave Ergosoft 17 closed for now, as we first want to import some files.
Importing Saved Jobs, Picture Packages, Position Templates
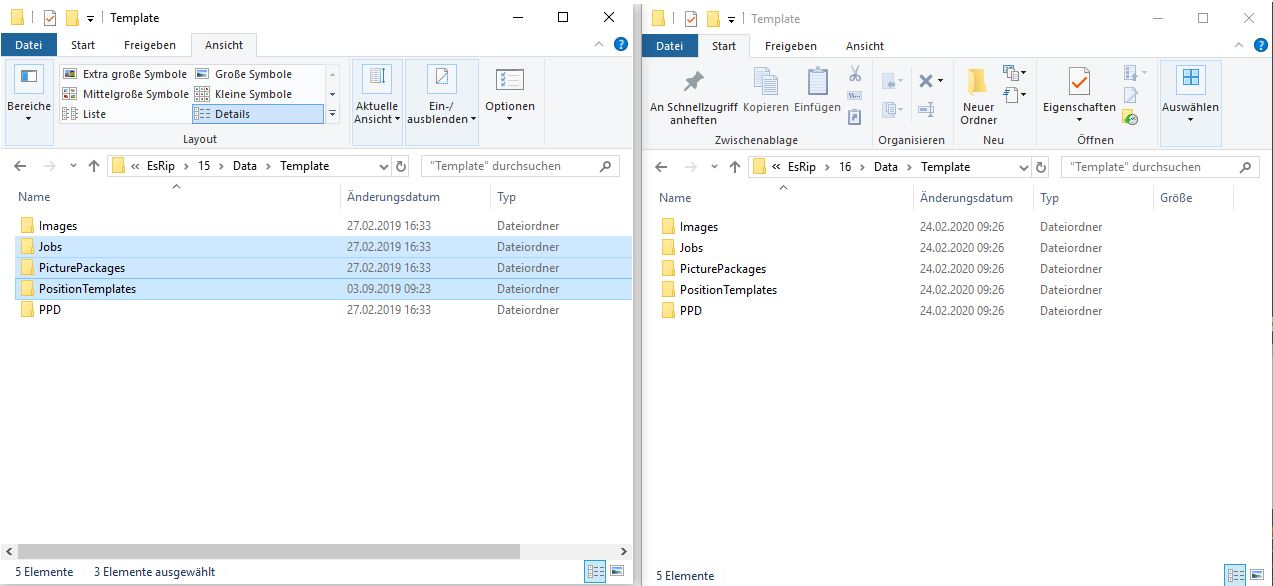
If you have saved Jobs, Picture Packages or Position Templates in Ergosoft RIP 15 that you would like to keep using in 17, you can take over the relevant files by directly copying them from the User Data folder. By default you can find the user data folder in C:\Users\Public\Documents\EsRip\ with subfolders for 15 and 17.
To take over saved Jobs, Picture Packages and Position Templates, go to the folder 15/Data/ Template and copy the subfolders Jobs, PicturePackages and PositionTemplates to the corresponding folder of version 17.
Importing Swatchbooks
If you have created custom Swatchbooks in Ergosoft 15 that you would like to keep using in 17, you can take over the relevant files by directly copying them from the User Data folder. By default you can find the User Data folder in C:\Users\Public\Documents\EsRip.
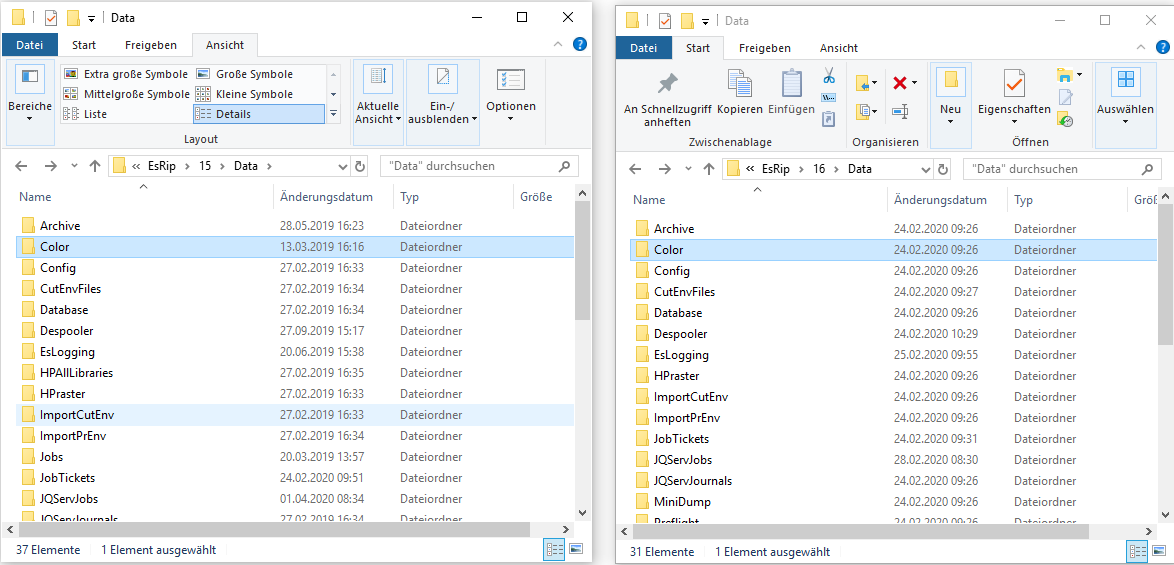
To take over color tables, copy the SwatchServ folder from 15/Data/ in the User Data folder of Version 15 to the corresponding folder of version 17.

Importing Input Profiles, Exported Densities, Color Profiles, Named Color Profiles and ColorQPC Sessions
If you used your own input profiles in Ergosoft 15 that you would like to keep using in 17, or want to keep external densities, profiles and/or saved ColorQPC Sessions you can take over the relevant files by directly copying them from the User Data folder. By default you can find the User Data folder in C:\Users\Public\Documents\EsRip.
To take over input profiles and other color relevant files, copy the Color folder from 15/Data/ in the User Data folder of Version 15 to the corresponding folder of version 17.
Importing Print Environments & Cut Environments
Once Ergosoft 17 is installed and we have the important User Data files copied, we can start Ergosoft 17 and import the Print/Cut Environments.
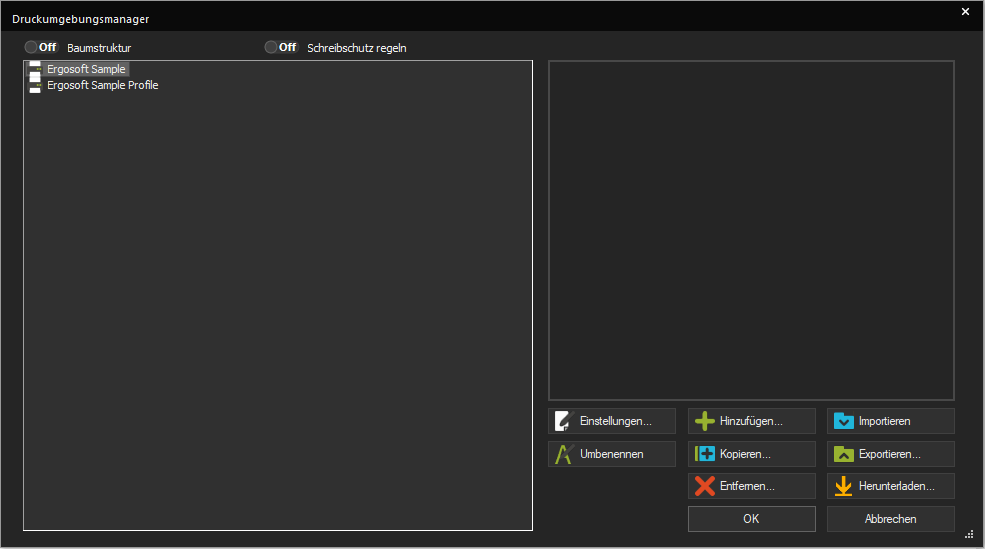
To import your Print Environments, open Ergosoft 17 and start the Print Environments Manager (Tools > Print Environment Manager). Click The Import-button and select the PrEnv or PrEnvPck file you exported before, then confirm to import your Print Environment.
Repeat this process for the Cut Environments by going to the Cut Environment Manager (Tools > Cut Environment Manager) and selecting your exported Cut Environments.
Note that this will not import the port configuration for your Print & Cut Environments. After importing, you’ll need to open the settings of the respective Print/Cut Environment and configure a PrintQueue and Output Port. For more information on how to do this, see First Time Setup.
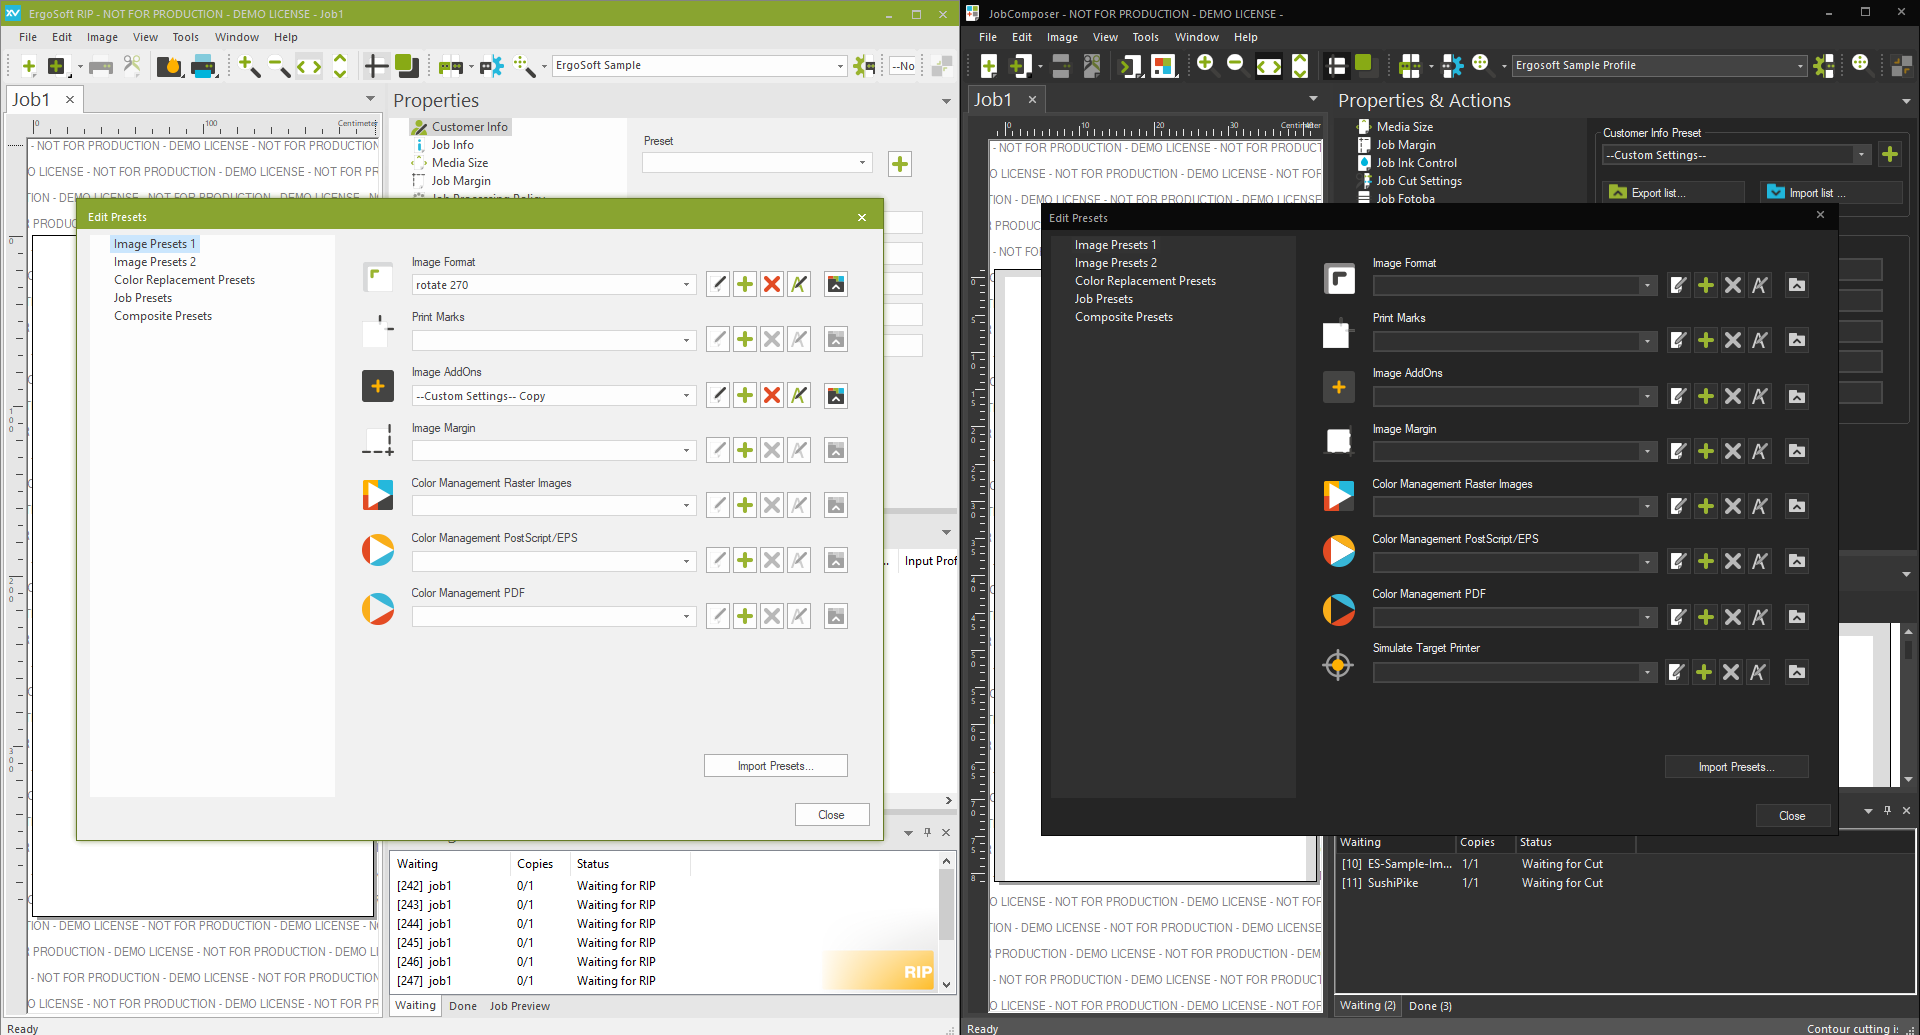
Adjusting Presets
Unfortunately the presets from version 15 cannot be taken over directly as the structure of presets has changed.
If you had Presets configured that you would like to take over, keep Ergosoft 17 open and start Ergosoft 15 as well.
Start Tools > Edit Presets in Ergosoft 15 and Tools > Preset Manager in Ergosoft 17. You can now adjust each of the presets in 17 to match the one in 15.
Related Articles
Import Settings with the Migration Wizard
The Migration Wizard is a tool introduced in Ergosoft 16.6 to help take over data from Ergosoft 16/17 into the latest version or migrate installations from system to system. This procedure works for User Data folders from version 15 as well as 16. ...Custom Dithering Settings
On printers with multiple dot sizes and/or multiple shades of color, which dot size gets printed and where one size transitions is an important part of the rastering process. Using small dot sizes in light tones ensures a smooth appearance in ...Ergosoft Networked Department Installation
Networked Department is a flexible setup for multiple JobComposers and multiple PrintQueues, offers an end-to-end connectivity and enables you to connect multiple single workstations to a production department where any workstation on the network can ...Ergosoft – HP Latex 700W / 800W – White / Double Sided Printing
The goal of this document is to describe the Ergosoft workflows for white printing on the HP Latex 700W and 800W. Spot Mode This User Guide explains the preparation of job printing an image, which contains a spot white separation. Image Requirements ...Image Import
Adds images from an accessible location on your Harddisk, Removable drive or network to the current Job. The import dialog also allows to set multiple parameters for the image import so you need fewer editing steps and less manual work preparing the ...