Jobs from Orders
Jobs from Orders is an automation function of Ergosoft 17 that lets you create jobs based on information in text files. Supply job information such as customer, order ID as well as parameters like number of copies and images (Or image folder) and let Ergosoft 17 do the work for you and create your jobs for you!
Similar to automatic serial letters from word processing applications, you supply the datasets using a formatted file like a txt or csv file, Jobs from Order will load the information into Ergosoft and create a Job for you. By interfacing through txt or csv files, it is even possible to use third party tools such as order management software or crm to fill in the dataset in the txt/csv file automatically for you for an automated workflow!
Combined with other powerful tools such as Position Templates and Job Presets, Jobs from Orders is a powerful tool to cut down on prepress and job preparation time by creating jobs, filling out job information and creating beautiful job layouts automatically for you based on just a few lines of text.
Set up Order File
The order file can be set up as either a txt or csv file. In txt form the fields need to be separated by either tabs, commas or semicolons (You can set which separator to use in the Jobs from Orders window), while in csv the entries are separated by fields. In each format the first line is the headings for the column, with the data starting at the second line.
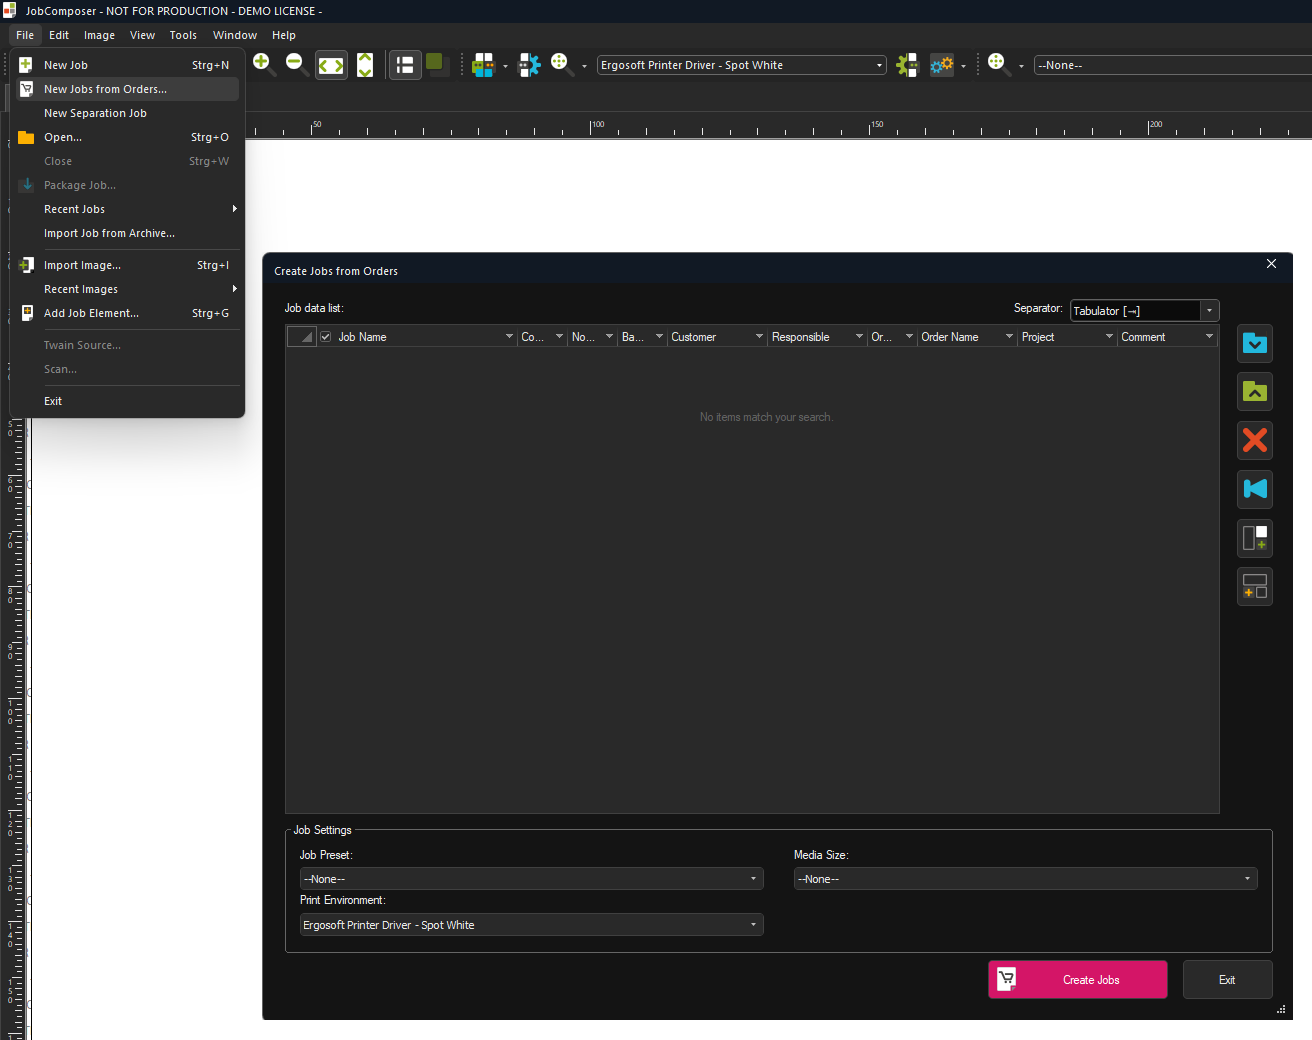
The easiest way to get the proper format is to access Job from Orders in the Ergosoft JobComposer by going to File > New Jobs from Orders… In the Jobs from Orders window click the Export button to create an exported file with the appropriate format, set a name for your sample file and choose a desired location.
Note that by default the table does not contain an Image column. To add one, click the Add Image Column Button to the right. in the image column, you can add either direct file paths to add specific images, or the path to a folder to add all images in that folder to the job.
You can also add additional image columns by using the Add Image Column button to the right. This adds a new column that you can use to define additional images or image folders to be added to the jobs. This way you can add images or folders from different locations to your jobs.
Click Save to save your example file.
You can now open this file and use it as a reference for the required format or fill it with information directly.
The columns in the Jobs from Orders table let you add a lot of useful attributes to your Jobs:
- Job Name: Sets the name for the Job created from the information on this line/dataset.
- Copies: Number of copies that should be printed of this Job.
- Without Gap: If the copies of this Job should be printed without Gap. 0 means no (Printed with gap), 1 means yes (Printed without gap).
- Barcode: Information in this field is saved into the Barcode field of your Job Properties.
- Customer: Information in this field is saved into the Customer field of your Job Properties.
- Responsible: Information in this field is saved into the responsible field of your Job Properties.
- Order Number: Information in this field is saved into the Oder Number field of your Job Properties.
- Order Name: Information in this field is saved into the Order Name field of your Job Properties.
- Project: Information in this field is saved into the Project field of your Job Properties.
- Image1: Lets you set a path to an image or folder containing images that are added to the Job created from this line / dataset.
To get the most out of Jobs from Orders, interface your order processing application or other tool to create the order files for you.
Loading a Job from Order
To load a Job from Order file and create Jobs from it, open the JobComposer and go to File > New Job from Order.
In the Job from Order window, click the Import Orders... button, navigate to your txt/csv orders file, select it and click Open. This will populate your Job Data List with the entries from the loaded file.
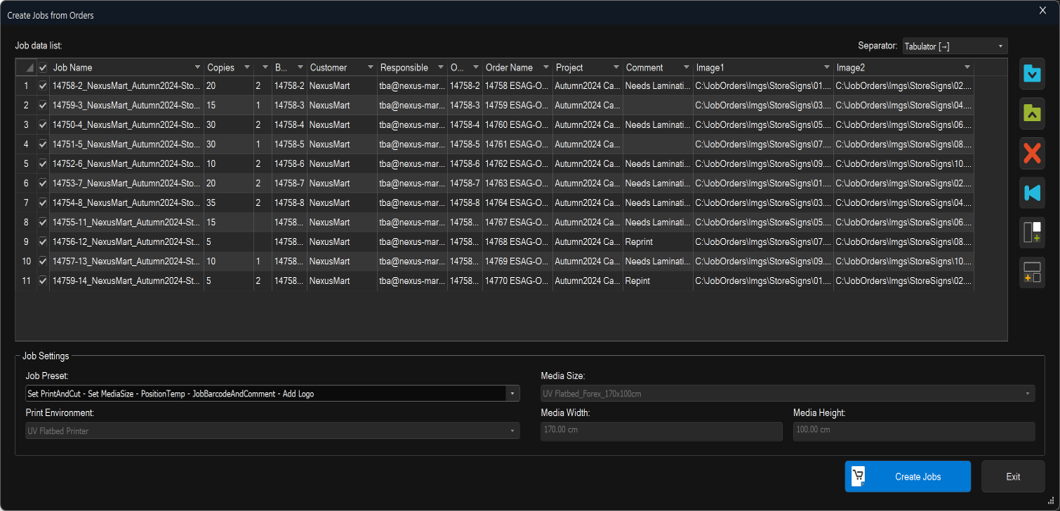
You can also directly add further lines to your Orders by clicking the Add Data Row button to the right. This will add an additional row that you can manually fill out if you like.
You can also add additional image columns by using the Add Image Column button to the right. This adds a new column that you can use to define additional images or image folders to be added to the jobs.
In the Job Settings section, you can specify different parameters for the jobs to be created.
- Job Preset: Sets the Job Preset to be applied to your created Jobs. This is very powerful as it lets you apply a number of different settings automatically such as Job Templates, AddOns, etc. If a Print Environment or media size are defined inside the Job Template, those options will be greyed out as those settings take priority.
- Media Size: Lets you set the Media Size for the Jobs created by this Jobs from Order process.
- Print Environment: Lets you set the Print Environment to be used for the Jobs created by this Jobs from Order process.
When you are ready, click Create Jobs to have the JobComposer create the Jobs for you based on your order file. Every line in the document will create a new Job with the information and parameters you specified and add the images you set in the image columns.
Using Jobs from Order with the HotFolder
It is also possible to submit Jobs to the HotFolder using the Jobs from Order format. This enables Job order to be automatically created by ERP systems or other third party software and submitted to the HotFolder without further user input.
To do this, the Job information needs to be submitted in a table saved in .esor format. The table can be created in a table format such as .csv, .xls, etc but the extension has be changed to .esor before submitting to the HotFolder so the application recognises it as as a Jobs from Order job.
The .esor table has the same syntax as a regular Order file described above, but also contain a column to specify the JobPreset to be used when processing the Jobs in the order (JobPreset Column is located after the JobComment column).
Below you can see an example of an .esor file and two example .esor files to download that can be used as reference for how an .esor file is properly set up.

The .esor file can then be dropped into the designated HotFolder and will be picked up and processed according to the Hotfolder settings.
For more information on the HotFolder, please see the Article HotFolder.
Related Articles
About Jobs
Open / Save Jobs in ErgoSoft RIPs In ErgoSoft RIPs, Jobs are a visual representation of your print material where you place your image files and position them according to your requirements. Job compositions can be saved and reopened any time, but ...Cutting Jobs
Cutting in the Ergosoft RIP is designed with the entire production workflow in mind. The focus was on making the entire cutting process in the RIP streamlined, from printing the Job with the JobComposers intuitive tools to sending the Job to the ...HotFolder
The Ergosoft HotFolder is a powerful tool for print process automation and batch processing. Automatically create and print standardized print jobs, simply by moving image files into a folder, the HotFolder application will do the rest! The HotFolder ...Job
In Ergosoft RIPs, job designates a print unit or a batch of images printed together. Often an order will be printed in one job or multiple orders will be arranged within one job to be printed together. One job has a range of parameters attached to it ...Scanning Barcode
Ergosoft allows you to use Barcode scanning devices or your smartphone to identify jobs in the PrintQueue or CutQueue through a QR code and bring them up for printing. With the Wait for Barcode feature active in the Print/CutQueue, simply scan the QR ...