GrayTuner
The Ergosoft GrayTuner feature lets you change the tint of gray shades in a profile. By using the GrayTuner and then re-generating the profile, you can change how gray tones from that profile look by adjusting both color tint and intensity easily and quickly. You don’t even need to re-measure any charts, changes can be applied directly to an existing profile.
Requirements
- A License for the Profile Editor feature set
- A saved ColorGPS session (.cpd, saved after measuring the calibration chart)
- A Print Environment with a density calibration matching the ColorGPS .cpd session
Using the GrayTuner
In the Ergosoft RIP JobComposer, select the Print Environment that you want to adjust your gray axis for. If you want to keep the current state of the Print Environment, it is recommended to create a copy of the Print Environment and work with that copy so you still have the original as backup.
Open ColorGPS and go to File > Open... , then select your saved .cpd session file. This will load the state of ColorGPS after measuring the profile chart so you can generate the profile again based on the same measurement values but with different profile settings.
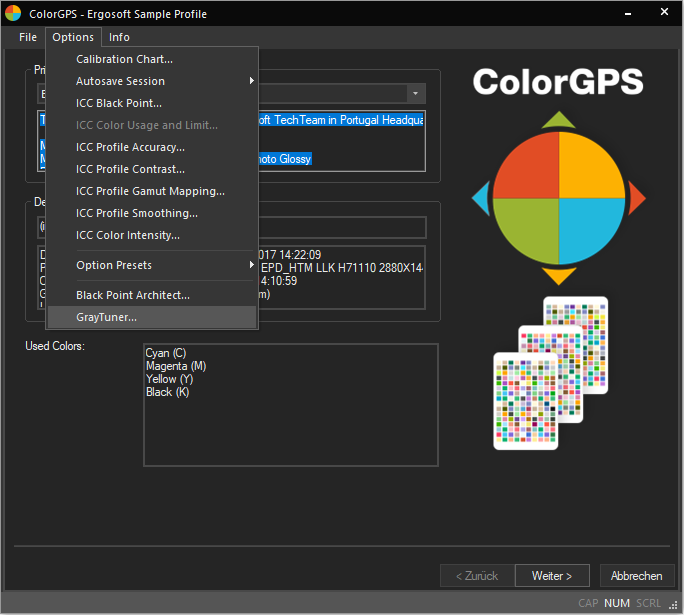
Go to Tools > GrayTuner to begin making adjustments.
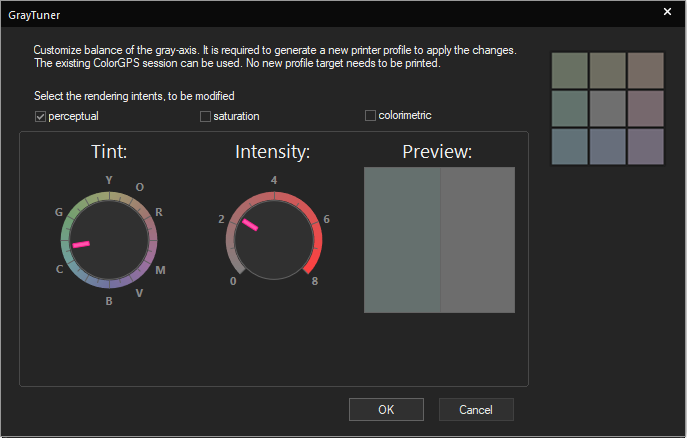
First, select which Rendering Intents should be affected by your adjustments, e.g. if you only select Perceptual, your changes will only take effect when using a Perceptual rendering intent. You may choose one or multiple Rendering Intents.
Then, use the dials to adjust the paramters for your gray axis:
Tint will alter the color tint of you gray colors, e.g. moving it towards Y/yellow will give your grays a yellow-ish sheen, and so on.
Intensity controls how strong the color tint in the gray values is. Turning up intensity will make the color tone more noticeable, while turning it down makes it more subtle.
On the right hand side you can see a preview window that shows you the current gray value on the right, and the new gray on the left so you can instantly estimate how your changes will look.
When you are satisfied with your changes, confirm with Ok.
Back in ColorGPS, click Generate Profile to calculate a new profile with your new settings. After calculating, the profile will be embedded in your currently active Print Environment and overwrite the current one so creating a backup is recommended.